If you’re someone who uses Linux, you might know that sometimes having a physical keyboard just isn’t possible. Maybe your keyboard’s broken, or perhaps you’re using a touchscreen device. In such cases, an on-screen keyboard can come in handy. Today, I’m gonna walk ya through some of the best virtual keyboard options for Linux, and how ya can use them to make life a bit easier when you ain’t got a real keyboard in front of ya.
What is an On-Screen Keyboard?


An on-screen keyboard is a software tool that lets ya type without needing a physical keyboard. It’s pretty simple, really. You just click or tap on the keys displayed on your screen. This is especially useful if you’re using a device with a touchscreen, or if your regular keyboard is on the fritz. On Linux, there are a few options ya can choose from, and I’m gonna tell you about some of the best ones out there.
1. Onboard
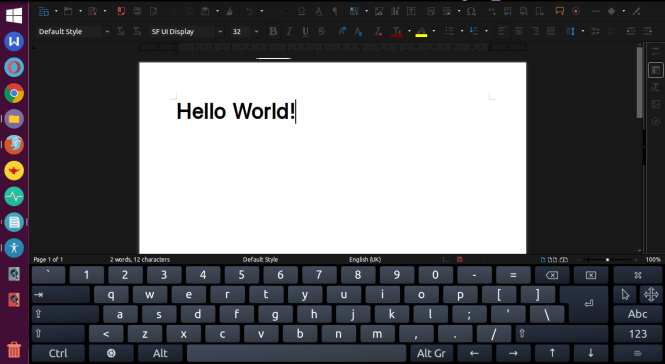
Now, one of the easiest ones to use is Onboard. It’s an open-source keyboard, made especially for assistive technology. This means it’s perfect for folks who might need a little extra help typing. Onboard is already available on a lot of Linux distributions, including Ubuntu and Linux Mint. It’s got a nice big interface, and you can use it with a mouse or a touchscreen. Plus, you can change the language settings if you need to type in a different language, which is mighty handy.
How to Install Onboard
- For Ubuntu and Linux Mint, you can open up the terminal and type:
sudo apt install onboard - Once it’s installed, just search for it in your applications, and you’ll be able to open it up and start typing right away.
2. Florence
If you’re looking for something a little different, Florence might be worth a look. It’s another virtual keyboard for Linux, but it’s got some extra features that can make it stand out. It works really well with touchscreen devices, and it’s got a lot of customization options. You can change how the keyboard looks, and even how it behaves, depending on your needs. It’s a good choice for folks who need a bit more flexibility in their virtual keyboard.
How to Install Florence
- On Ubuntu, you can install Florence by typing
sudo apt install florencein the terminal. - Once installed, you can launch Florence just like any other application, and you’re ready to go.
3. Maliit Keyboard


Another great option for folks using Linux is Maliit Keyboard. This one is free software, and it works on both Wayland and X11 display servers. It’s a bit more lightweight than some other virtual keyboards, which might be just what you’re looking for if you’re working with limited resources. Plus, it supports multiple languages and even emojis. If you’re into using emojis in your texts, this one might be your new best friend.
How to Install Maliit Keyboard
- You can install it through your terminal with
sudo apt install maliit-keyboard. - After that, you’ll need to activate it in your settings, but once it’s up and running, you can start typing away.
4. CoreKeyboard
CoreKeyboard is another option to consider, especially if you’re looking for something simple. It’s not as fancy as the others, but it gets the job done. This one works especially well on touch devices, and it even gives you word suggestions as you type, which can help speed up your typing if you’ve got a lot of text to put down.
How to Install CoreKeyboard
- CoreKeyboard isn’t available in the default repositories for most Linux distros, so you’ll have to download it from their website or GitHub page.
- Once downloaded, follow the instructions to install it, and you’ll be good to go.
5. Built-In Virtual Keyboards
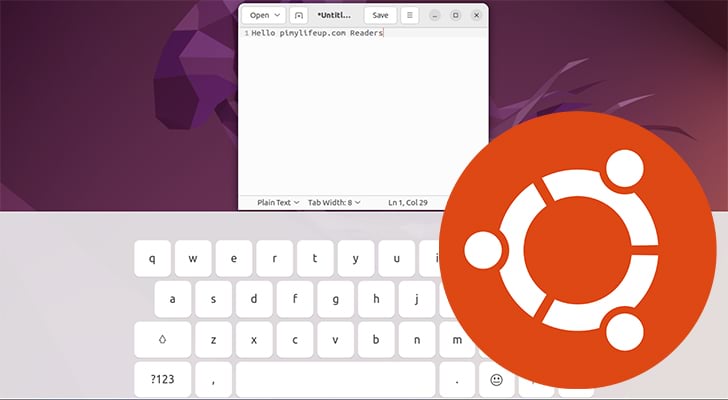
Now, if you don’t wanna mess around with installing extra software, you can also use the built-in virtual keyboards that come with your Linux desktop environment. For instance, Gnome has a built-in on-screen keyboard that’s easy to enable. You just need to go into your settings, look for the accessibility options, and turn on the on-screen keyboard. It’s as easy as that.
How to Enable Built-In Keyboard in Gnome


- Open the Settings app.
- Go to the “Accessibility” section.
- Turn on the “Screen Keyboard” option.
Why Use an On-Screen Keyboard?
So, why would ya wanna use one of these keyboards? Well, there are a couple of reasons. First off, if your physical keyboard is broken, or you’re using a device that doesn’t have a keyboard, an on-screen keyboard is a lifesaver. It’s also really helpful for people with mobility issues, since they can type using a touchscreen or a mouse. Plus, with some of these options, you can type in multiple languages or even add in emojis, which can be a lot of fun.
Another good reason to use an on-screen keyboard is if you’re working on a public or shared device, and you don’t want your keystrokes to be logged. It can give ya a bit more privacy compared to using a physical keyboard, where someone could be watching over your shoulder.
Conclusion
So there ya have it! Whether you’re using a touchscreen device or just need a backup keyboard, there are plenty of great virtual keyboard options for Linux. Onboard, Florence, Maliit, CoreKeyboard, and even the built-in keyboards can all help ya type away when you don’t have a physical keyboard around. Give ’em a try and see which one works best for ya. Good luck, and happy typing!
Tags:[Linux virtual keyboard, On-screen keyboard, Linux tools, Onboard, Florence, Maliit Keyboard, CoreKeyboard, accessibility, touchscreen keyboard, virtual keyboard Linux]


